Proper Garage Door Bottom Seal Installation is the most effective way to protect your workspace from rain, dust, and pests. dust, and unwanted pests to enter your workspace. Fortunately,performing a proper Garage Door Bottom Seal Installation is a simple DIY project. installing a professional-grade Garage Door Bottom Seal is a simple DIY project that can instantly protect your garage from the elements. In this guide, we will walk you through choosing the right materials and mastering the installation process like a pro.
Why Material Choice is the Key to Durability
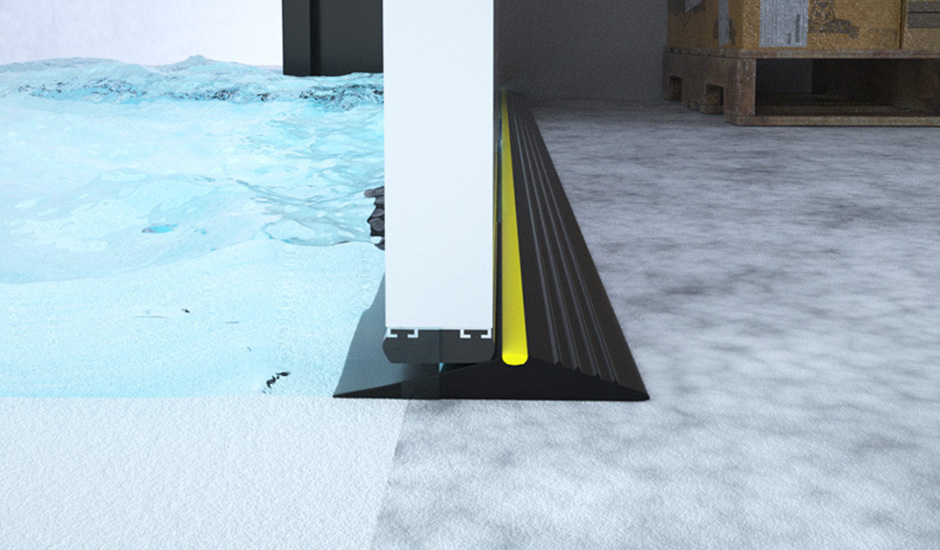
When selecting a seal, many homeowners mistakenly choose cheap plastic alternatives. However, at our Hebei Heke Rubber Products factory, we specialize in high-density EPDM rubber. Furthermore, our industrial-grade EPDM is specifically engineered to withstand extreme temperatures ranging from -40°F to 240°F. Consequently, your seal will remain flexible and crack-resistant even during the harshest winters. Therefore, investing in quality rubber ensures a long-lasting, weather-tight barrier for your home.
Measuring Your Door for Garage Door Bottom Seal Installation
Before you purchase a kit, you must accurately measure the width of your garage door. Most standard residential doors require a 10ft, 16ft, or 20ft seal kit. In addition, always ensure you have at least 2 inches of extra material on each end to allow for natural thermal expansion. Moreover, checking the track type (such as a T-end or Bead-end) is essential to ensure compatibility with your existing hardware.
Tools Required for Installation
To ensure a smooth Garage Door Bottom Seal Installation, gather these tools first: a sharp utility knife, a cleaning brush, mild soapy water (as a lubricant), and a measuring tape. Having these ready will reduce your installation time to under 20 minutes.
Step-by-Step Garage Door Bottom Seal Installation
First, begin by raising the garage door to a comfortable working height and securing it with a clamp. Second, slide the old, worn-out seal out of the track and use a brush to clean any dirt or debris from the channel.
Third, apply a small amount of soapy water to the track as a lubricant. Furthermore, this simple trick significantly reduces friction, making it much easier to slide the new rubber through the metal grooves. Fourth, feed the U-shape edges of the rpxrpx seal into the track and pull it across the entire width of the door. Finally, trim the excess rubber with a utility knife and ensure the ends are tucked securely into the channel.
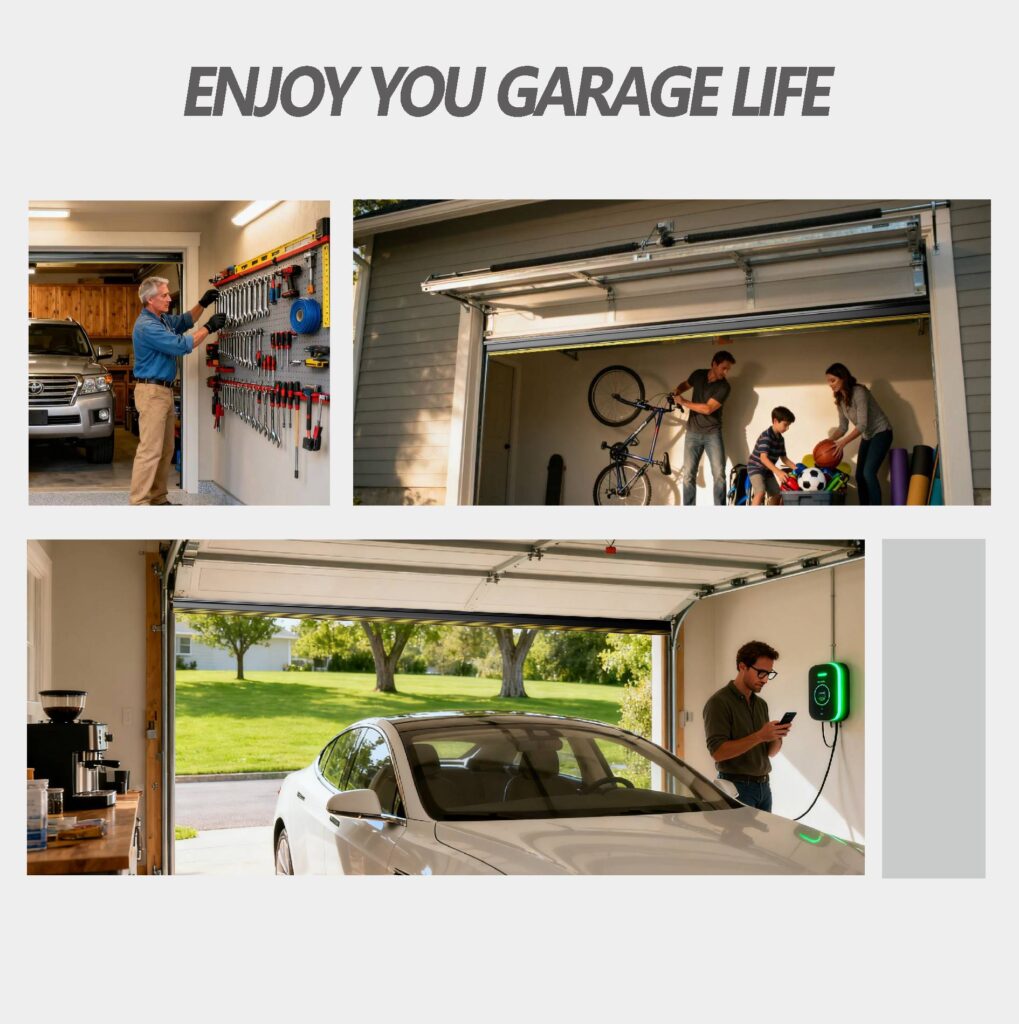
[Insert Image Here] Alt Text: rpxrpx EPDM garage door bottom seal installation in a clean residential garage
Frequently Asked Questions
How often should I replace my garage seal? Typically, a high-quality rubber seal should be replaced every 3 to 5 years. However, if you notice light peeking through the bottom of the door, it is time for an immediate update.
Will this seal prevent pests from entering? Yes. Because our Trapezoid and U-Shape designs create a tight compression seal against the floor, they effectively block rodents and insects from squeezing inside. Consequently, your garage stays cleaner and safer year-round.
Why Choose rpxrpx (Hebei Heke) Solutions?
As an ISO/TS16949 certified manufacturer, Hebei Heke Rubber Products Co., Ltd. provides the same industrial reliability to homeowners that we offer to major automotive partners like SAIC and FAW. Therefore, when you choose an rpxrpx kit, you are getting a product backed by decades of technical expertise and factory precision.
Pro Tip: Maintenance for Long-Lasting Results
To get the most out of your Garage Door Bottom Seal Installation, we recommend a quick inspection every six months. Simply wipe the rubber seal with a damp cloth to remove grit and check that the track remains clear of debris. This small step prevents premature wear and ensures your garage stays dry and pest-free for many years to come.
Ready to weather-proof your garage? Explore our full range of Garage Door Bottom Seal Kits and experience the difference that industrial-grade rubber makes!